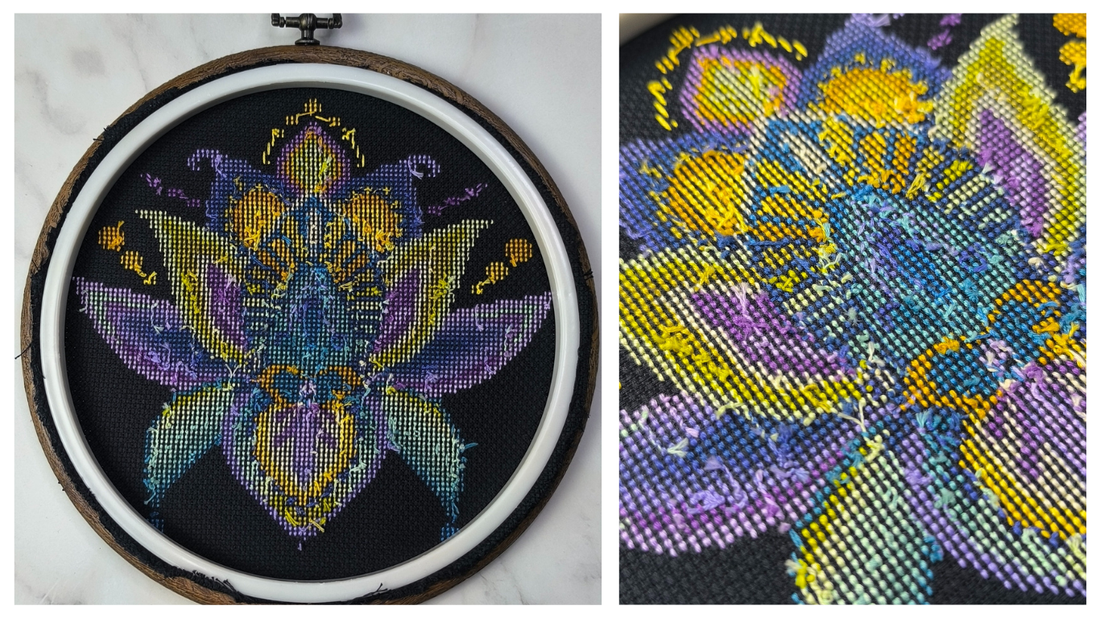
How to Make the Back of Cross Stitch Neat: The Complete Guide

Cross stitch is a craft that looks simple from the front—but the real challenge often hides behind the fabric. If you’ve ever flipped your hoop and seen a jungle of knots, tangles, and crisscrossed threads, you’re not alone. Many beginners (and even experienced stitchers) ask the same question: how do you make the back of cross stitch neat?
The good news? With the right techniques, you can transform messy backs into smooth, flat stitches that not only look professional but also make your embroidery last longer. Let’s dive in.
Why the Back of Cross Stitch Matters
-
Durability: Loose knots and tangled threads can unravel over time.
-
Appearance: Even though the back isn’t on display, a neat finish creates a more polished project—especially if it’s framed or used in home décor.
-
Efficiency: Organized stitching saves thread and reduces frustration.
Think of the back as the foundation. If it’s clean, the front will look even better.
Step 1: Start Without Knots
The biggest beginner mistake? Tying knots to secure thread. While it feels safe, knots create bumps and can distort the fabric. Instead, use one of these techniques:
-
Loop Start: Ideal for even numbers of strands. Fold the floss in half, thread the ends through the needle, and secure with the loop on the back.
-
Pin Stitch: For odd strands, anchor with tiny stitches that disappear under your first cross.
Both methods leave the back smooth and flat.
Step 2: Follow the Shortest Path
A messy back often comes from carrying threads all over the fabric. To avoid this:
-
Travel only a few stitches at a time.
-
If you need to jump farther, secure the floss under the back of nearby stitches first.
-
Work in small sections rather than hopping across the pattern.
Tip: Think of your floss as a traveler—it should always take the shortest, most direct route.
Step 3: Secure Ends Properly
When finishing a length of thread:
-
Pass the needle under 3–5 stitches on the back.
-
Trim close to the fabric without cutting too short.
This creates a strong hold without bulky knots.
Step 4: Use Consistent Tension
Too tight, and your fabric puckers. Too loose, and threads dangle. The goal is steady, even tension.
-
Keep your hands relaxed.
-
Work with shorter lengths of thread (about 40 cm) to prevent fraying.
-
Use a hoop or frame to stabilize fabric.
Step 5: Mind the Direction of Stitches
A neat back naturally follows when your stitching direction is consistent. Most stitchers use the “//// then \\” method.
-
Work row by row, completing all the first half-stitches before finishing the crosses.
-
Avoid random directions, which cause overlapping tangles behind the fabric.
Step 6: Avoid Carrying Dark Colors Under Light Areas
Even if the front looks clean, dark floss carried behind light stitches can show through. This is especially important on white or light-colored fabric.
Rule: If you must carry a thread, keep it short (2–3 stitches max) and always under areas of similar color.
Step 7: Practice the “Railroad” Technique
For extra polish, try railroading: separate the strands with the needle as you complete each stitch. This not only improves the look of the front but also keeps the back more orderly.
Step 8: Embrace Imperfection (to a Point)
Here’s the truth: nobody’s back is perfect. Even advanced stitchers have occasional overlaps or fuzzy ends. The goal is not museum-level neatness but practical tidiness. If your stitches lie flat, threads are secure, and nothing shows through the front, you’ve succeeded.

Quick Do’s and Don’ts
Do:
-
Use loop or pin starts.
-
Weave thread ends under 3–5 stitches.
-
Keep thread lengths short.
-
Work in small, organized sections.
Don’t:
-
Tie knots.
-
Carry floss across long distances.
-
Pull too tightly.
-
Ignore the direction of stitches.
Conclusion
Making the back of your cross stitch neat isn’t about perfection—it’s about building good habits. With practice, you’ll find your stitches smoother, your projects more durable, and your craft more enjoyable.
So next time you flip your hoop and smile instead of cringe, you’ll know: the back tells the real story of your stitching journey.
5. FAQ Section
How do you start cross stitch without knots?
Use the loop start method for even strands or the pin stitch for odd strands. Both create secure starts without bulky knots.
Why does the back of my cross stitch look messy?
Messy backs usually happen because of long thread carries, knots, or inconsistent stitching direction. Following the shortest path and securing ends neatly helps.
Should the back of cross stitch be perfect?
Not at all. It should be tidy enough that threads don’t show through or unravel, but a few imperfections are normal.
Can I fix a messy back after stitching?
You can trim excess thread, secure loose ends under stitches, and gently press the fabric. However, prevention is always easier.
7. Suggested Internal Links

